Learn how to use standard text with variables in SAP Smart Forms.
Key Concept
Smart Forms is a tool for creating and maintaining forms within SAP systems, such as CRM, SCM, SRM, ERP HCM, and Healthcare. Smart Forms provides an easy-to-use graphical user interface that allows you to create and modify company-specific forms to communicate with employees.
SAP Smart Forms is used to create and maintain forms. For example, you can use Smart Forms to create a letter for your employees that contains information about their salary increases for the next year. You can import a standard SAP text file to make sure the text in the letter can be changed dynamically by an HR administrator without having to change the Smart Form,. You can place variables in the text file, which can be filled by Smart Forms dynamically.
A Smart Form can be called from within SAP programs. Employee data can be transferred to the Smart Form when it is called from the program and you can retrieve extra data from within the Smart Form.
Note
The functionality discussed in this article is available from SAP version R/3 4.6C.
In my example scenario, I show you how to create a standard text file with variables integrated in a Smart Form to show the amount of the employees’ salary increases for the next year. The Smart Form used is a copy of the SAP standard Smart Form HR_ECM_CRS. I do not discuss how to use the program used to print the salary increase letter as this is outside the scope of this article.
Use Standard Text with Variables in SAP Smart Forms
There are two steps to creating a standard SAP Smart Form with variables:
- Create a standard text file for the Smart Form
- Change the Smart Form
Step 1. Create a Standard Text File for the Smart Form
Start transaction code SO10 (
Figure 1). Enter ZHR_PAYLETTER in the Text Name field, ST in the Text ID field, choose your language, and click the Create button. This opens the screen in
Figure 2.
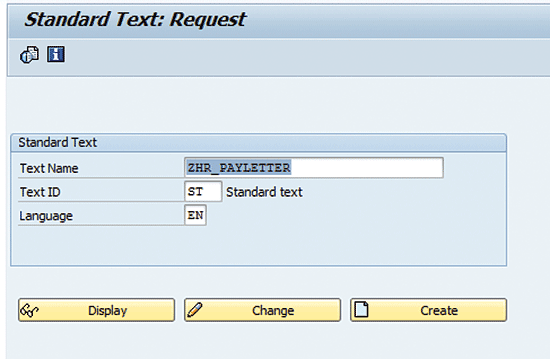
Figure 1
Create a standard text for your Smart Form

Figure 2
The empty screen before you enter your text (columns 1 to 72)
This screen shows 72 columns. To switch to the next set of columns, 73 to 132, press Shift F8. In my example, the entry field in front each line has to contain an = sign. The next step is to enter the text for your Smart Form. Enter the text as shown in
Figure 3. Place the variables to be passed to the Smart Form between brackets (< >). All the other text is standard and appears in the letters as is. You can use uppercase or lowercase words between the brackets, as long a you use the same text in the Smart Form.
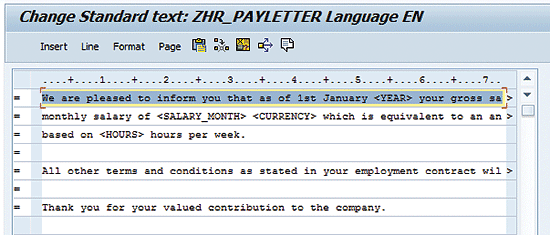
Figure 3
Add the text for your message in the Smart Form (the first 72 columns), including the variable text
Once you’ve used up the first 72 lines, if necessary press Shift F8 to take you to the additional blank lines, up to 132 columns (
Figure 4).
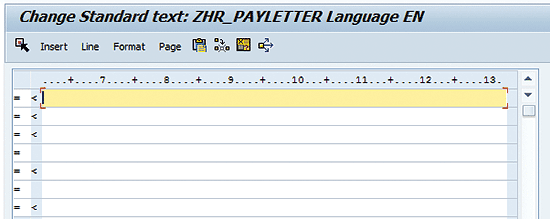
Figure 4
The empty screen before you enter your text (columns 73 to 132)
Fill in the additional text as shown in
Figure 5.
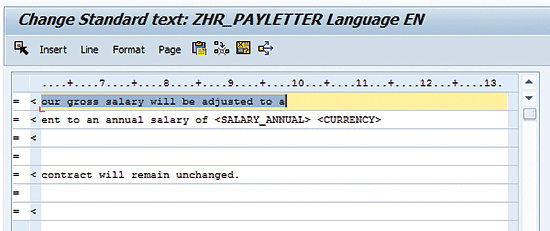
Figure 5
Add the rest of your text for the Smart Form, including the variable text
Click the save icon to save your new standard text file.
Step 2. Change the Smart Form
Next copy and change the Smart Form you just created. First, call the standard text file you created in step 1 and replace the field within the brackets with data collected in the Smart Form.
Note
The details for retrieving the employee’s salary data is beyond the scope of this article.
In my example, I use the SAP Smart form HR_ECM_CRS and copy it to Z_HR_ECM_CRS. Start transaction code SMARTFORMS, select the Form radio button, and enter HR_ECM_CRS in the field next to it (
Figure 6). Click the copy icon.
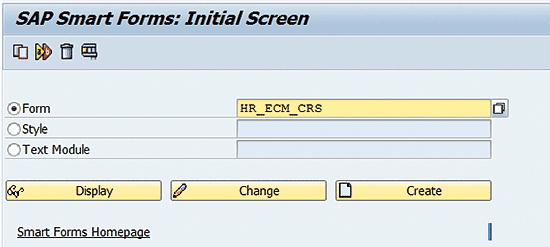
Figure 6
Copy the Smart Form
Enter Z_HR_ECM_CRS in the Target Object field and click the enter icon (
Figure 7).
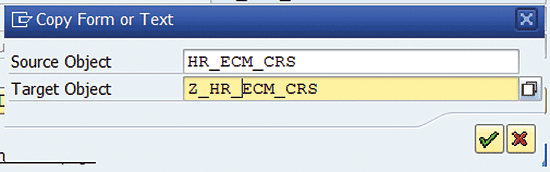
Figure 7
Copy the Smart Form to Z_HR_ECM_CRS
Leave the application and start transaction code SMARTFORMS again (
Figure 8). Select the Form radio button, enter Z_HR_ECM_CRS in the source object field, and click the Change button. The screen in
Figure 9 appears.
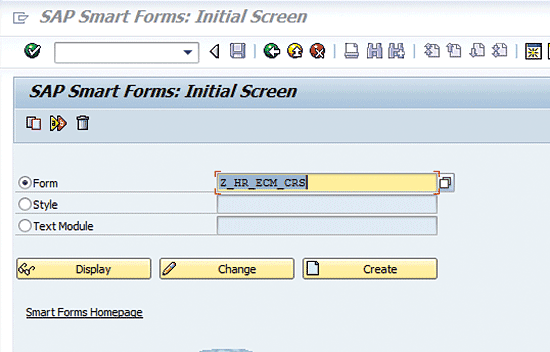
Figure 8
Modifying the existing Smart Form
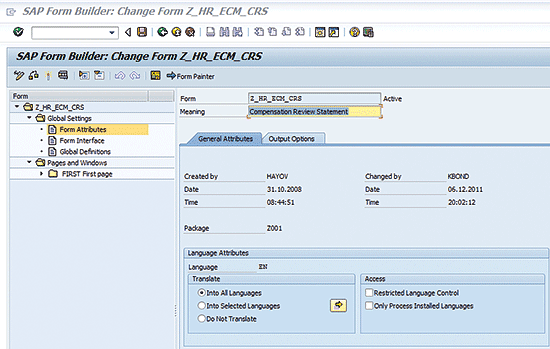
Figure 9
The Smart Form screen where you make your modifications
Under the Global Settings folder (
Figure 9,) choose the Form Attributes option, and then click the General Attributes tab that appears on the right. Under the Language Attributes section, choose the Into All Languages radio button and click the save icon to save your changes (
Figure 10).
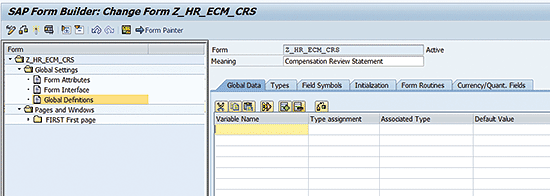
Figure 10
Global definitions
Double-click the Global Definitions document on the left, which opens the standard Global Data tab on the right-hand side of the screen (
Figure 10). Copy all the text in
Figure 11 and paste it into the Global Data fields in
Figure 10. The end result should match
Figure 12.
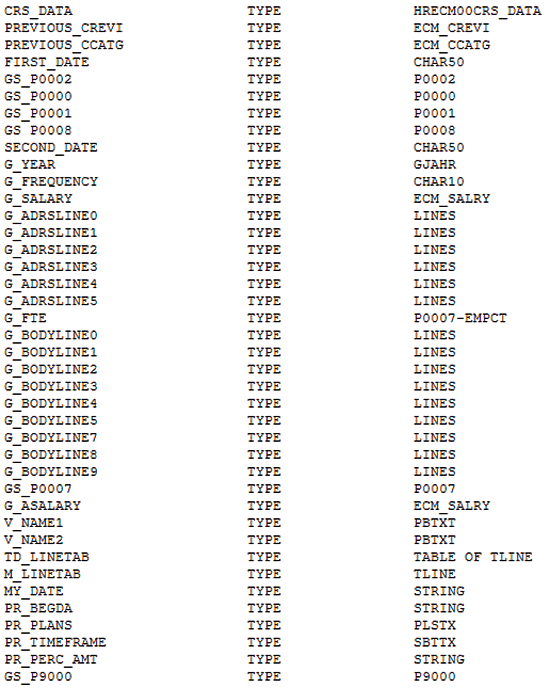
Figure 11
Global data parameters
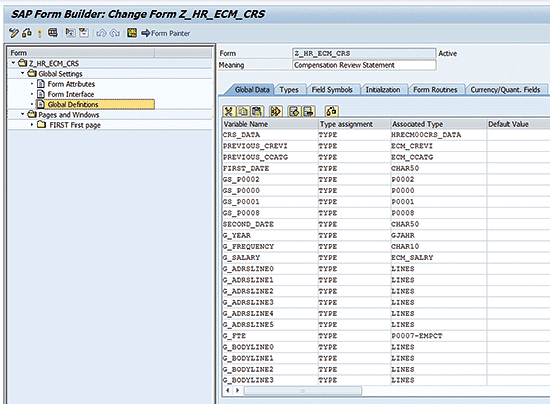
Figure 12
Global Data tab text
Note that not all fields are visible. You have to scroll down to see them all. Click the Forms Routine tab (
Figure 13).
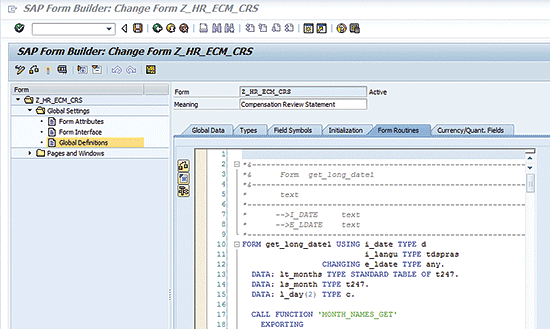
Figure 13
Form routines
In the Forms Routines tab of
Figure 13, create a new form routine by cutting and pasting the code in
Figure 14. Then click the save icon (
Figure 15). (The initial standard SAP Smart Form screen, not shown, is empty.) This code calls the standard text file ZHR_PAYLETTER (created in step 1), transfers it into a table, and replaces all the text between the brackets with the text available in the Smart Form.
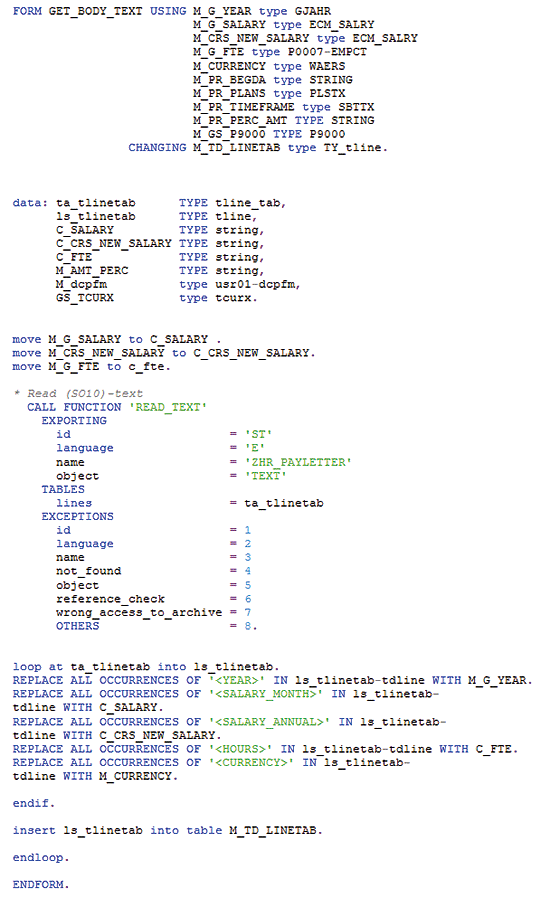
Figure 14
New form routine GET_BODY_TEXT
Click the black arrow in front of the Pages and Windows folder (
Figure 15).

Figure 15
Open Pages and Windows
Open FIRST First page > MAIN Main window > %LOOP 1 New Loop 1 > %Text 1 New Text 1 (
Figure 16), which results in the screen in
Figure 17.
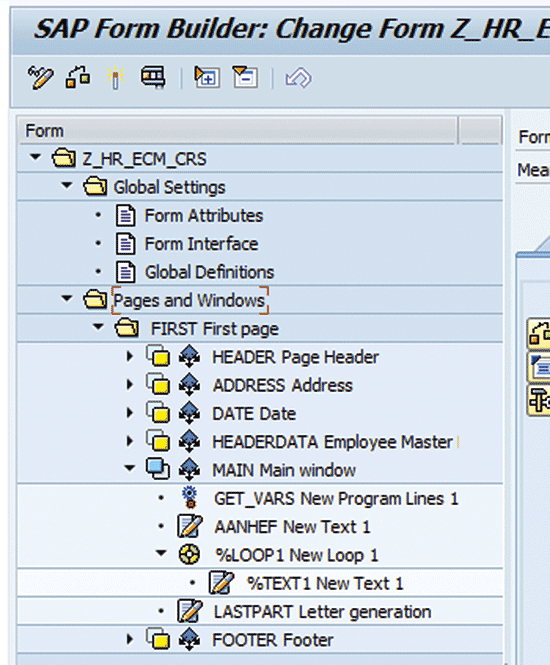
Figure 16
Open Main window
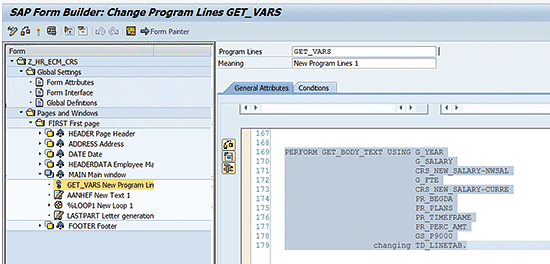
Figure 17
Program line of GET_VARS
Double-click the get variables line (GET_VARS New Program Lin), which opens the screen on the right-hand side of
Figure 17. In the General Attributes tab, cut and paste the code from
Figure 18 into the blank screen. This calls the routine you created previously and fills in the internal table.
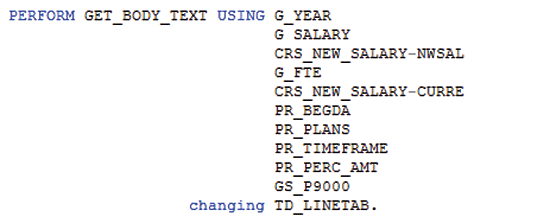
Figure 18
Code to call GET_BODY_TEXT
Next, create a loop item on table TD_LINETAB. In the FIRST First Page folder, select MAIN Main Window and right-click to open. Then choose Create > Flow Logic > Loop. When you create the loop item the screen looks like
Figure 19.
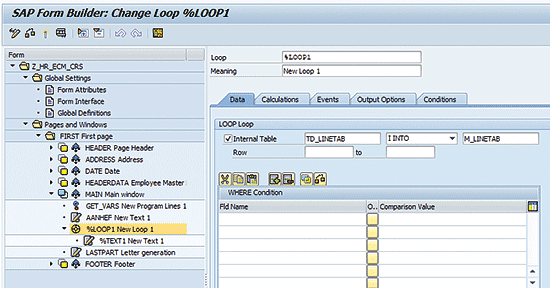
Figure 19
Loop over table TD_LINETAB
Under the Data tab, select the Internal Table check box, and in the fields next to it enter TD_LINETAB, I I INTO, and M_LINETAB, respectively. Then click the save icon.
Next, create a text item to write the table content. Select the loop item you just created, (right-click on %LOOP 1New Loop 1), and then Create > Flow Logic. This results in the screen in
Figure 20.
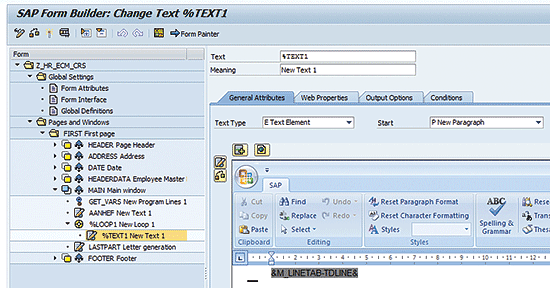
Figure 20
Text item to display table content
Then, in the right side of the screen in
Figure 20, under the General Attributes tab, enter &M_LINETAB-TDLINE&. Save the new Smart Form by clicking the save icon, and then click the activate icon.
The new Smart Form now gets its text from the standard text file ZHR_PAYLETTER and replaces the fields within the brackets with the text from the table in the Smart Form that comes from the program used to print the salary increase letters.
Your letter will look something like
Figure 21.
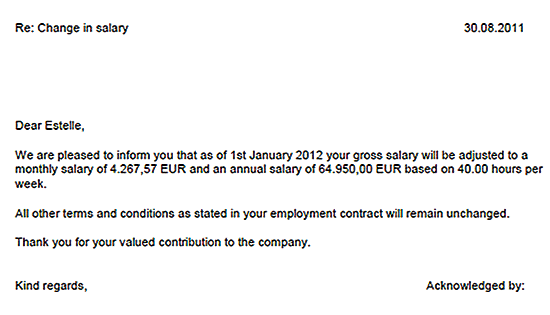
Figure 21
Smart Form result: The salary increase letter
Kees Bond
Kees Bond is a senior HCM consultant and ABAP consultant with 17 years of experience with SAP. He followed an HBO education in Amsterdam and lives in the Netherlands.
He started his SAP career in the first Dutch hospital to implement SAP. He was responsible for the implementation of the HCM module components PA, OM, time, and payroll. Currently, Kees is working as a principal consultant for CIBER Netherlands BV.
You may contact the author at
kees.bond@ciber.nl.
If you have comments about this article or publication, or would like to submit an article idea, please contact the
editor.